

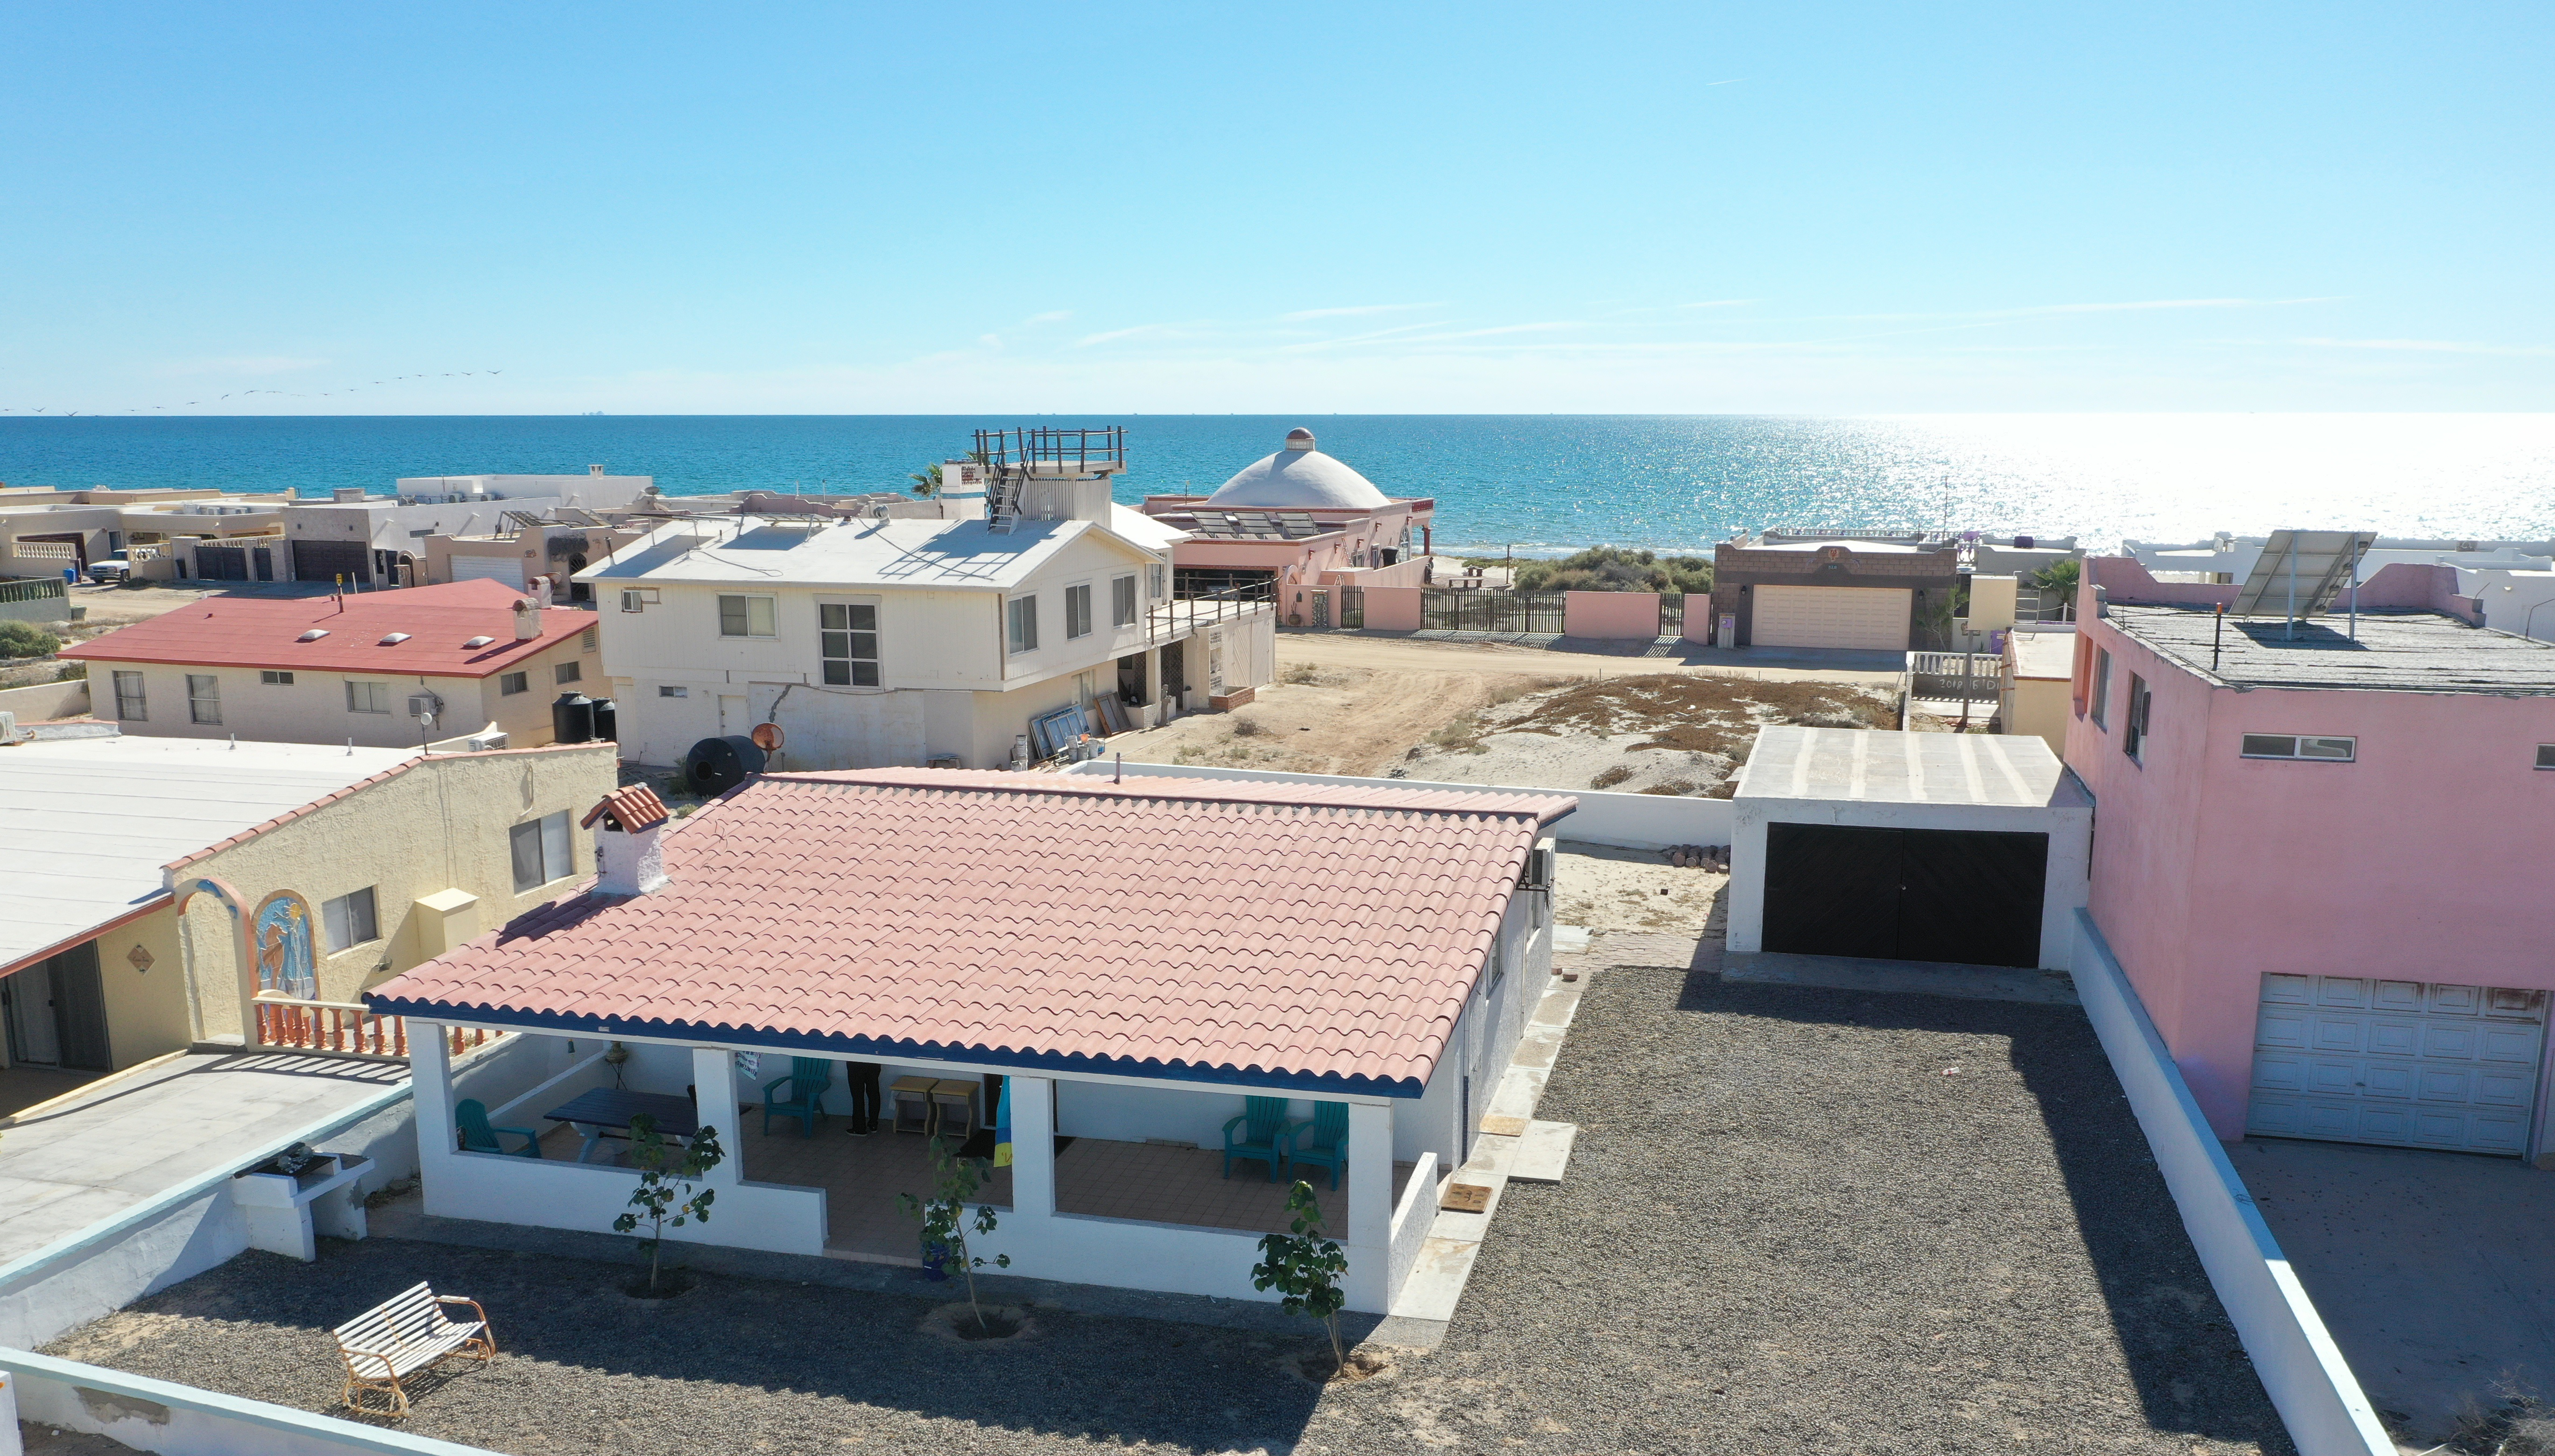
The weather here in Puerto Peñasco is sunny and beautiful each day, but the salt and sand in the air are a corrosive combination that wreak havoc on your home’s exterior, so it is important that your home’s exterior is protected by taking the following steps to properly paint and protect your investment.
The homes here in Puerto Peñasco are constructed using block and mortar with a 1/4″ concrete finish on the exterior walls to make them smooth. Concrete painting is a bit more difficult to paint than most surfaces because concrete breathes, transports moisture, and sucks up the paint, so it is important that the job is done correctly for best results.
Clean the Concrete
Cleaning the concrete exterior is very important before you paint because
concrete is a porous material, and it can easily trap dirt that will spoil the
finish. Power washing your home’s exterior is an efficient method to preparing
the exterior surface and ensuring it’s clean. During power washing if you
notice the old paint is flaking off then you will want to sand off any remaining
existing paint.
Patching Cracked
Concrete
Concrete finishes are very susceptible to cracking and chipping, so before
painting your home it is essential that you fill in any cracks with an epoxy
crack sealer. In some instances, you may have large patches of concrete that
need repair and, in this case, you should patch those areas with a concrete
bond material or cement bond. Properly preparing your home’s surface using
these methods will ensure a professional appearance while maintaining your
exterior finish.
Seal the Concrete
After you clean and patch all the cracks and damage it is now time to seal
your exterior concrete walls. Water moves easily through porous concrete so
sealing the exterior walls is essential to prevent moisture from seeping in,
promoting mold growth and that “damp basement feel”. Use any masonry sealer of
your choosing and carefully follow directions for mixing, applying, and curing
the sealer. Some sealers may require 5 to 7 days for it to cure so make sure
you follow the manufacturer’s recommendations for application.
Prime the Concrete
Once you’ve applied the sealer and allowed it enough time to cure, it’s time to
prime your concrete. This is an important step because the prime will fill in
the pores and evens out the surface which will give you a great appearance in
the end. Again, you can choose any primer you want, just make sure it’s a
concrete and masonry bonding primer. It typically takes only two hours for
primer to dry, but wait at least 8 hours and no more than 30 days to paint.
Paint the Concrete
When choosing your paint make sure to purchase masonry paint because it
contains binders that will contract and expand with the concrete. Using
exterior house paint will crack and peel especially in this salt and sand-air
environment. You will want to use a high-capacity 3/4 inch this roller or a
texture roller. We recommend Sherwin-Williams paint for all your painting needs
and they are located here in town behind the Santander Bank.
About the author: Joseph Sanchez is president of Rocky Point Home Builders a design/build contractor specializing in custom home design, construction and renovations. He resides here in Puerto Peñasco with his wife and three children and is originally from Chicago. For more information email him at sales@rockypointhomebuilders.com
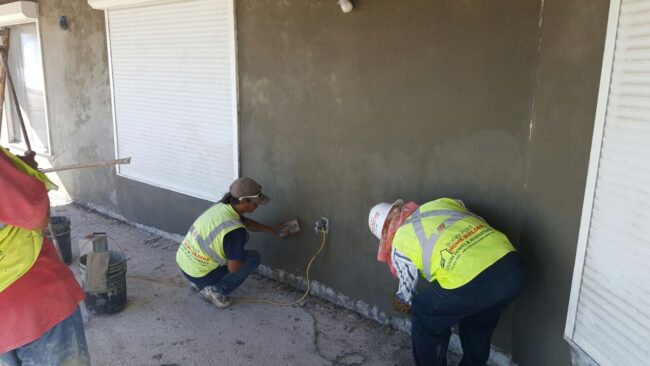
Workers smooth out the new concrete finish in preparation to paint on a recent home renovation in Las Conchas.
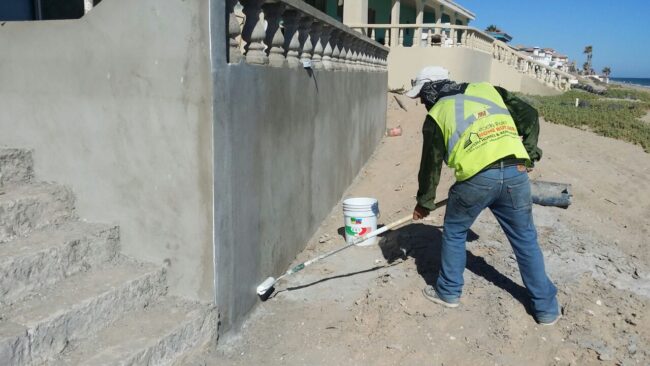
A worker applies a sealant to a sea wall in Las Conchas. Sealing concrete is a very important step that must be implemented before you paint.
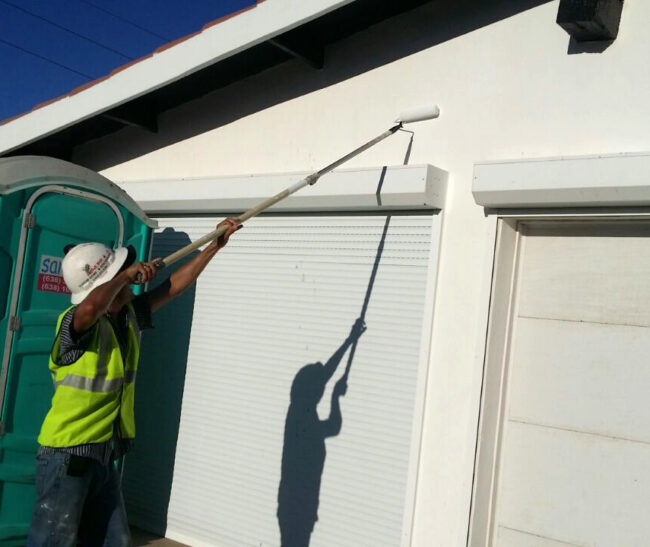
The final step of the painting process is applying the paint and we recommend masonry paint because it contains binders that will contract and expand with the c


